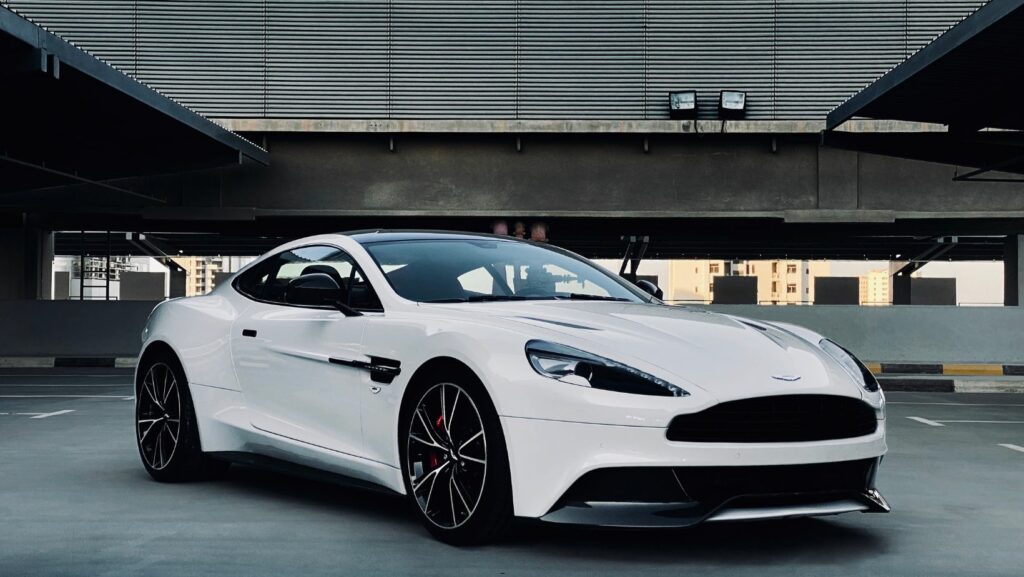
Automotive paint blending is a useful skill for small paint repairs. Instead of repainting a full panel, blending helps new paint fade into the old paint. When done right, the repair becomes hard to see. Many detailers use an airbrush for this task because it gives better control over paint flow and spray pattern.
The first step in paint blending is surface preparation. Always clean the area before sanding or painting. Dirt, wax, and oil can stop paint from sticking. After cleaning, lightly sand the damaged area with fine grit sandpaper. This smooths the edges of the old paint and helps the new paint blend into the surface.
After sanding, wipe the area with a clean cloth. Dust on the surface can ruin the paint finish. A clean surface helps paint lay flat and look smooth. Preparation may seem simple, but it plays a big role in paint blending.
The next step is paint mixing. Paint used for blending must be thin enough to spray in light coats. Thick paint creates hard edges and uneven color. Thin paint allows you to build color slowly. Many painters test the paint on paper or scrap metal before spraying on the car. This helps check color match and spray pattern.
When blending paint, thin layers are very important. Do not try to cover the repair in one pass. Spray light coats and build color slowly. This helps the new paint fade into the old paint instead of forming a hard line. Blending is about control and patience, not speed.
Distance also matters when using an airbrush. Spray close to the repair area first, then move slightly outward to fade the paint into the surrounding area. This technique helps create a smooth transition between old and new paint. Keep your hand moving while spraying to avoid paint buildup in one spot.
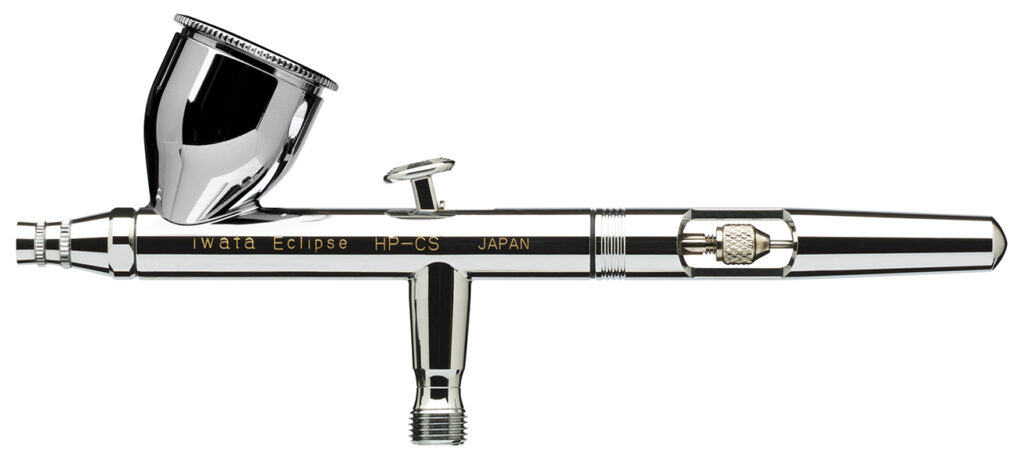
Many detailers use the Iwata Eclipse HP CS for blending because it gives steady paint flow and good control for small areas. It is often used for paint touch ups, wheel paint repair, and panel blending. The airbrush allows painters to spray thin layers and control the spray width, which is important when blending paint on cars. Learning how to use tools like the Iwata Eclipse HP CS can help improve paint blending results and make small paint repairs look more natural.
Air pressure also affects paint blending. Lower pressure helps create softer spray edges, which is useful for blending. High pressure can create overspray and hard paint edges. Start with low pressure and adjust slowly until the spray looks smooth and controlled.
Lighting is another important part of paint blending. Good lighting helps you see paint coverage and color difference. You can check your work from different angles to make sure the paint blends well. If the repair area still stands out, you can add another thin layer to improve the blend.
After the paint dries, some repairs may need light polishing. Polishing helps smooth the paint surface and blend the repair area even more. This step helps make the repair less visible and improves the final finish.
Automotive paint blending takes practice, but the process is simple. Focus on surface preparation, thin paint layers, low air pressure, and smooth hand movement. Work slowly and build color step by step. With the right technique and the right airbrush, small paint repairs can blend well with the original paint and look clean and smooth.